Your week
Set a short break on five working days, perhaps before lunch. Use a stable chair without wheels. If you only have five minutes, do the first three blocks and then stand up briefly.
Your sessions
Minutes are practice windows that include short rests, side changes and setup. Start by holding an active position for 15–25 seconds, then release and rest for around 20–30 seconds. Four to six slow repetitions are enough for a moving exercise. Divide one-sided movements equally between sides. You do not have to work for the whole block; spare time can be rest.
Your sequence
- Settle into a seated position
- Time block
- 1 min
- Rest
- Within the block
- Seated cat–cow
- Time block
- 2 min
- Rest
- Within the block
- Standing or seated side reach
- Time block
- 2 min
- Rest
- Within the block
- Gentle seated twist
- Time block
- 2 min
- Rest
- Within the block
- Supported heel raises
- Time block
- 2 min
- Rest
- Within the block
- Mountain pose
- Time block
- 1 min
- Rest
- Within the block
How the time blocks work
Read the explanations before the first round. Place the chair against a wall and clear the floor around it. Stand briefly on both feet between positions before setting up the next stance. Allow some extra reading time on your first attempt.
Keep breathing evenly as you move. If your breathing becomes strained or you hold your breath, release the pose and reset. Start with a small range of movement. As the sequence becomes familiar, explore a little more range and smoother transitions.
The positions explained
- Settle into a seated position: Sit on a stable chair with both feet on the floor. Rest your hands on your thighs and notice your breathing. There is no need to deepen it or hold your breath.
- Seated cat–cow: Sit towards the front of a stable chair with feet grounded. Gently round your back, then sit tall again, keeping your hands on your thighs. Let your neck follow the movement without tipping your head far back.
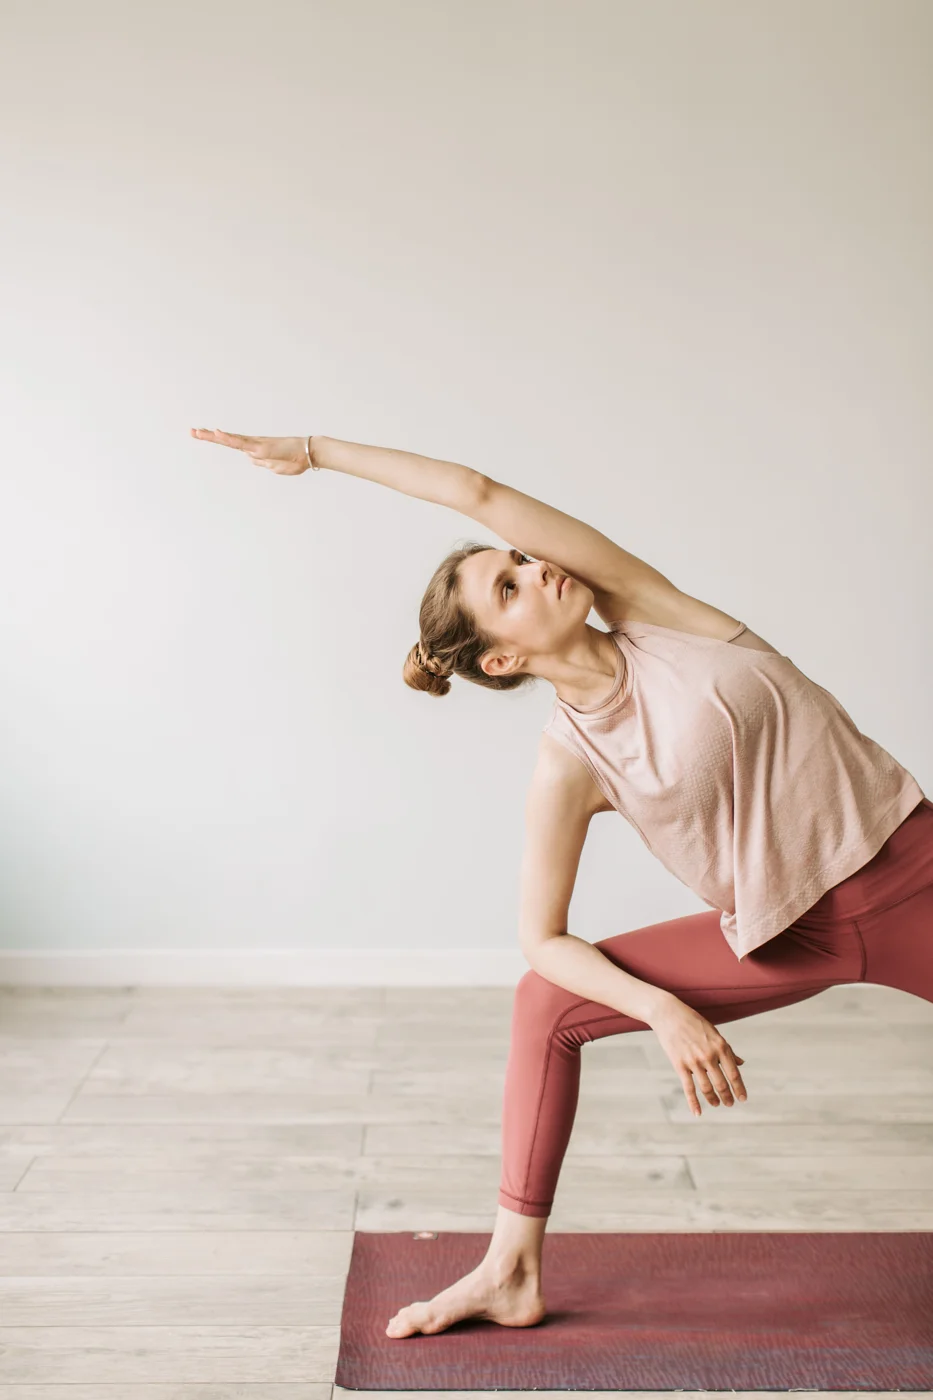
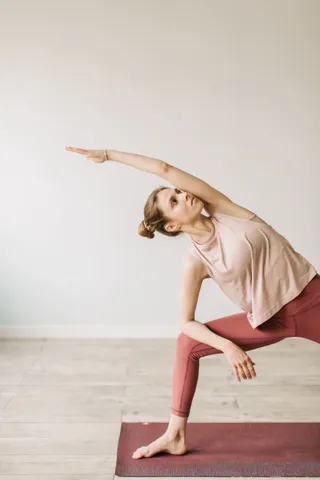
- Standing or seated side reach: Sit or stand tall and raise one arm only as high as comfortable. Lean slightly to the other side without folding forwards. Return to the centre and switch; the whole movement can be done in a chair.
- Gentle seated twist: Sit tall with both feet grounded. Turn your chest and gaze a little to one side while keeping your pelvis still. Let your hands follow without pulling you deeper. Return to centre and try the other side.
- Supported heel raises: Stand at a stable chair and lightly hold its back. Slowly lift both heels, then lower with control. Keep your body upright and reduce the movement if you start swaying.
- Mountain pose: Stand roughly hip-width apart and spread your weight across both feet. Grow tall without locking your knees or pushing your chest forward. Relax your arms and keep breathing steadily.
Developing your practice
Progress here mainly means taking the break consistently. After two weeks, you can pair it with a short walk. Deeper twists and longer holds are not needed for this purpose.
At first, you may look at the instructions before every position. As the sequence becomes familiar, you have more attention for your breathing and movement. After two weeks, you will have a better sense of which time of day and variations suit you. Keep those. A hand on the wall or a shorter hold can remain part of your practice.
When a position does not suit you
Shorten your stance, keep a hand on the wall or bend your knees. Replace floor supports with the wall version if your wrists are uncomfortable. Stop the movement for sharp pain or dizziness. Seek individual guidance for an injury, pregnancy or a relevant health condition.
Explore the beginner yoga sequence
Try a tool
Read next
Sources
- NCCIH: Yoga, Effectiveness and Safety ↗
- American Council on Exercise: Yes, You CAN do Yoga ↗
- Cleveland Clinic: Yoga for Beginners ↗
Vlada Karpovich / Pexels · Pexels License
ph.galtri / Pexels · Pexels License