Who this plan suits
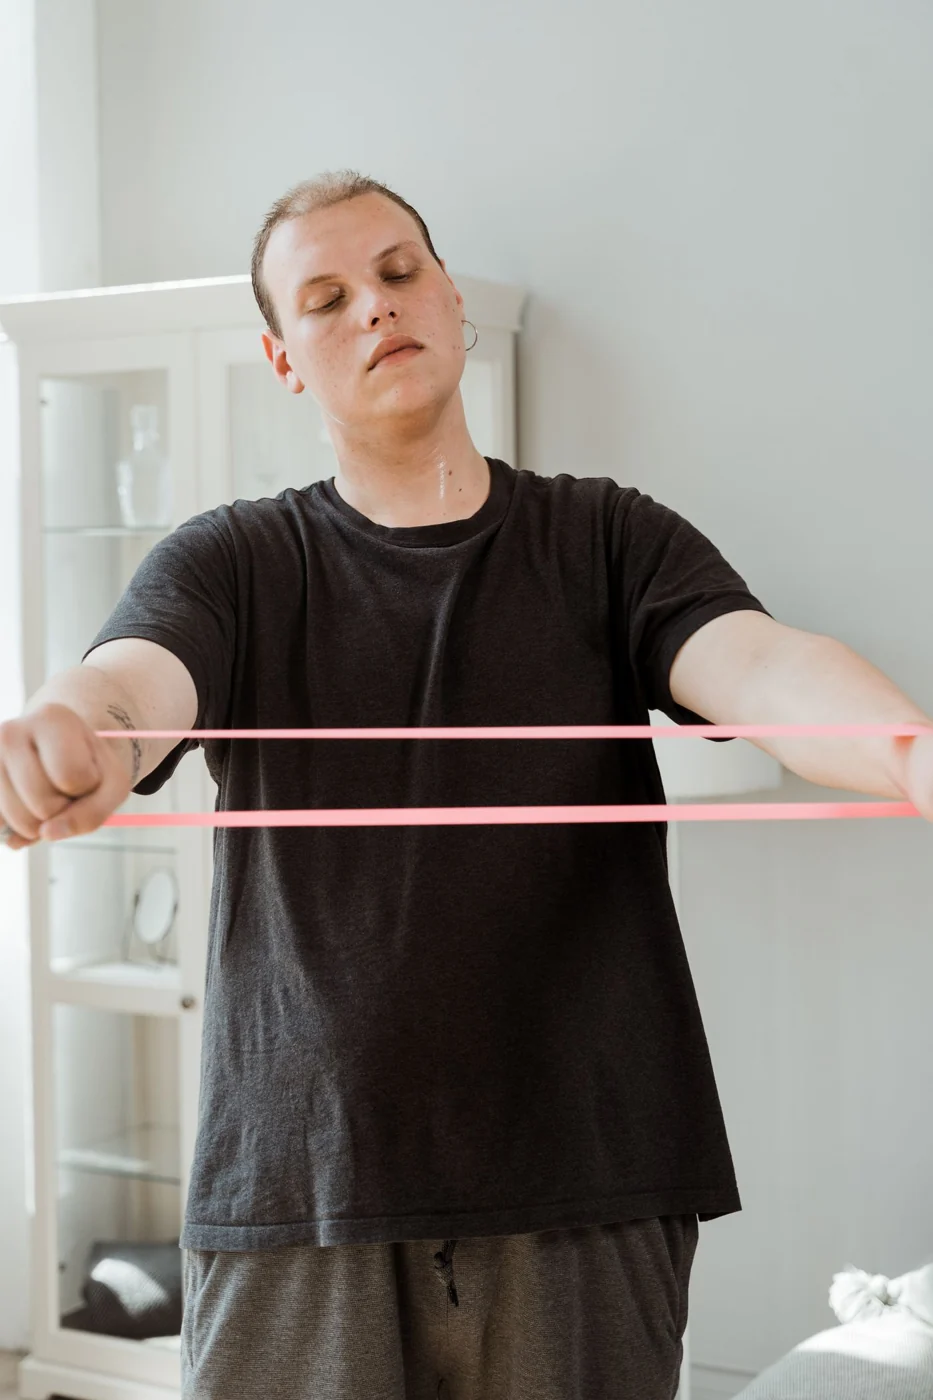
Use a long band approved by its manufacturer for exercises under your feet, plus a lighter resistance for pull-aparts. A short mini-band will not do. Both the band squat and row use both feet to secure the band.
Your sessions
The table lists working sets; prepare beforehand. For one-sided exercises, a set covers both sides and the listed rest follows. Take a brief pause when switching sides if needed.
Session A
- Band squat
- Sets
- 2
- Reps / duration
- 10–15
- Rest
- 1–2 minutes
- Bent-over band row
- Sets
- 3
- Reps / duration
- 10–15
- Rest
- 1–2 minutes
- Sets
- 2
- Reps / duration
- 6–12
- Rest
- 1–2 minutes
- Sets
- 2
- Reps / duration
- 10–15
- Rest
- 1 minutes
Session B
- Sets
- 2
- Reps / duration
- 8–12 per side
- Rest
- 1–2 minutes
- Bent-over band row
- Sets
- 3
- Reps / duration
- 10–15
- Rest
- 1–2 minutes
- Sets
- 2
- Reps / duration
- 6–12
- Rest
- 1–2 minutes
- Sets
- 2
- Reps / duration
- 12–20
- Rest
- 1 minutes
Where the sessions fit in your week
Train A on Monday and B on Thursday for 25 to 35 minutes each. Set out your bands beforehand. Both sessions include rows, with a different leg exercise on each day.
| Day | Session |
|---|---|
| Monday | Session A |
| Tuesday | No scheduled workout; easy movement if you wish |
| Wednesday | No scheduled workout; easy movement if you wish |
| Thursday | Session B |
| Friday | No scheduled workout; easy movement if you wish |
| Saturday | No scheduled workout; easy movement if you wish |
| Sunday | No scheduled workout; easy movement if you wish |
Warm up for your workout
Start with three to five minutes of easy marching and shoulder and hip movement. Rehearse today's squat or lunge without a band first. Before the row, do a short practice set with low band tension. Try the other movements gently too, so you can find a comfortable stance, grip and range before the working sets.
Clear enough room to extend your arms and legs. Use a dry, non-slip floor and a mat that stays in place when you put weight on it. Keep your timer within reach. The session timings allow for rests: start the next set when you can move calmly and with control again.
Check the band for tears or damage before each session. Stay within its stated stretch limit and secure it beneath both feet with non-slip footwear. Test the grip with low tension first. Keep the band away from your neck and face, do not trap it under slippery socks, and avoid sharp edges.
How to use the sessions
2 × 10–15 means two sets of ten to fifteen repetitions. Finish the sets of one exercise before moving on; one-sided exercises include both sides. Record the band, grip position and foot placement. A shorter grip can make a band feel much harder. Keeping those settings the same makes repetition counts useful to compare later.
How to do each movement
- Band squat: Stand on the middle of the long band and hold the ends beside your shoulders without looping it around your neck. Bend your hips and knees to a depth you can control, then stand. Keep both feet fully planted. Choose low enough tension to avoid a sudden struggle at the top.
- Bent-over band row: Stand with both feet over the centre of the band and hold an end in each hand. Soften your knees and push your hips back to lean forward. Pull your elbows toward your hips, then return your hands slowly. Keep your torso and foot contact steady; the band must not slip out from under your feet.
- Knee Push-Up: Place your hands slightly wider than your shoulders and rest your knees on a mat. Lower your chest between your hands, keeping shoulders, hips and knees aligned, then press up without letting your waist sag.
- Glute Bridge: Lie on your back with bent knees and feet flat about hip-width apart. Press through your feet to lift your hips, squeeze your glutes without arching your lower back, then lower slowly.
- Reverse Lunge: Stand tall and step one foot backward, keeping your feet on separate tracks. Bend both knees, then press through the front foot to return; keep the front heel down and use support for balance if needed.
- Banded Pull-Apart: Hold a light resistance band in front of your chest with arms extended and shoulders relaxed. Pull your hands apart until the band approaches your chest, then return slowly without shrugging or arching your back.
Find your starting weight
Pick a band that allows ten smooth repetitions with two or three more available. Tension rises as the band stretches, so check that you can finish the movement without jerking. Record the setup instead of assigning the band an invented kilogram value.
How to progress the plan
Record the band, grip width and stance. For band rows, build to 15 repetitions with the same setup; other exercises use their own upper limit in the table. Then try a slightly stronger rowing resistance within the manufacturer's limits and return to ten. Colours from different brands do not represent matching resistance.
Progress can mean a steadier movement, more repetitions or less breathlessness after the same session. After four weeks, look at your first entries and think about what used to feel unfamiliar. If evening workouts keep getting postponed, try a different time or a shorter session. A plan is most useful when it regularly finds room in your day.
Adjust the plan while keeping its purpose
If setting up band squats is awkward, start with bodyweight squats. Do not compensate for a band that is too strong by jerking through the movement. Pull-aparts supplement the row rather than covering its larger pulling action.
When to end a set
End the set when you clearly shorten the movement, need momentum or lose control of your position. Muscular effort and faster breathing are expected. Sudden sharp pain, dizziness or unusual symptoms are reasons to stop the exercise or session. Have persistent or recurring pain assessed before continuing to load the affected movement.
Know where to start next workout
Record your sessions in LiftPal: exercises, repetitions, weight and, when useful, effort with RPE. Note the variation or band resistance too. At the next workout, you can see what worked last time. You can also make your training schedule an everyday goal.
Try a tool
Read next
 Training stylesStrength training at home: exercises with and without equipmentPlans and progressHome workout plan: two days with dumbbells
 Plans and progressSets, reps and working weight explained
 Plans and progressProgressive overload: when to add weight or repetitionsPlans and progressRPE in strength training: how hard was that set?
Sources
- ACSM (2026): Resistance Training Prescription for Healthy Adults ↗
- ACSM (2026): Updated resistance training guidance ↗
- Plotkin et al. (2022): Progressing repetitions or load in resistance training ↗
- American Council on Exercise: Whole-body Exercise Band Workout ↗
- [P]rehab: Bent Over Row with a Band ↗
MART PRODUCTION / Pexels · Pexels License · Resized and converted to WebP for this website.