Who this plan suits
This plan suits someone comfortable exercising on the floor and ready for three short sessions. It trains legs, chest and trunk. Without something to pull against, targeted back training remains a gap; see the practical addition below.
Your sessions
The table lists working sets; prepare beforehand. For one-sided exercises, a set covers both sides and the listed rest follows. Take a brief pause when switching sides if needed.
Session A
- Sets
- 2
- Reps / duration
- 10–15
- Rest
- 1 minutes
- Sets
- 2
- Reps / duration
- 6–12
- Rest
- 1–2 minutes
- Sets
- 2
- Reps / duration
- 10–15
- Rest
- 1 minutes
- Sets
- 2
- Reps / duration
- 6–8 per side
- Rest
- 1 minutes
Session B
- Sets
- 2
- Reps / duration
- 6–10 per side
- Rest
- 1–2 minutes
- Sets
- 2
- Reps / duration
- 6–12
- Rest
- 1–2 minutes
- Sets
- 2
- Reps / duration
- 6–8 per side
- Rest
- 1 minutes
- Sets
- 2
- Reps / duration
- 12–20
- Rest
- 1 minutes
Session C
- Sets
- 2
- Reps / duration
- 10–15
- Rest
- 1 minutes
- Sets
- 2
- Reps / duration
- 6–12
- Rest
- 1–2 minutes
- Sets
- 2
- Reps / duration
- 10–15
- Rest
- 1 minutes
- Sets
- 2
- Reps / duration
- 6–8 per side
- Rest
- 1 minutes
Where the sessions fit in your week
In week one, do A on Monday, B on Wednesday and C on Friday. C deliberately repeats A. In week two, use B, A, B instead. Leave a day between sessions.
| Day | Session |
|---|---|
| Monday | Session A |
| Tuesday | No scheduled workout; easy movement if you wish |
| Wednesday | Session B |
| Thursday | No scheduled workout; easy movement if you wish |
| Friday | Session C |
| Saturday | No scheduled workout; easy movement if you wish |
| Sunday | No scheduled workout; easy movement if you wish |
Warm up for your workout
Take three to five minutes before training. Walk on the spot and move your shoulders and hips. Then rehearse the first movements in the table with a few slow repetitions. Use a wall to prepare for push-ups if that makes them easier. These practice sets help you get comfortable with the movements while leaving energy for the workout.
Clear enough room to extend your arms and legs. Use a dry, non-slip floor and a mat that stays in place when you put weight on it. Keep your timer within reach. The session timings allow for rests: start the next set when you can move calmly and with control again.
How to use the sessions
2 × 8–12 means two sets of eight to twelve repetitions. Complete both sets before moving to the next exercise. A per-side instruction includes both left and right. Times such as 20 seconds describe a hold. Record the repetitions or seconds and the variation, such as wall push-ups or knee push-ups.
How to do each movement
- Bodyweight Squat: Stand with your feet about hip-width apart and your weight spread across each foot. Bend your hips and knees as if sitting down, then stand up; keep your heels grounded and use a comfortable depth.
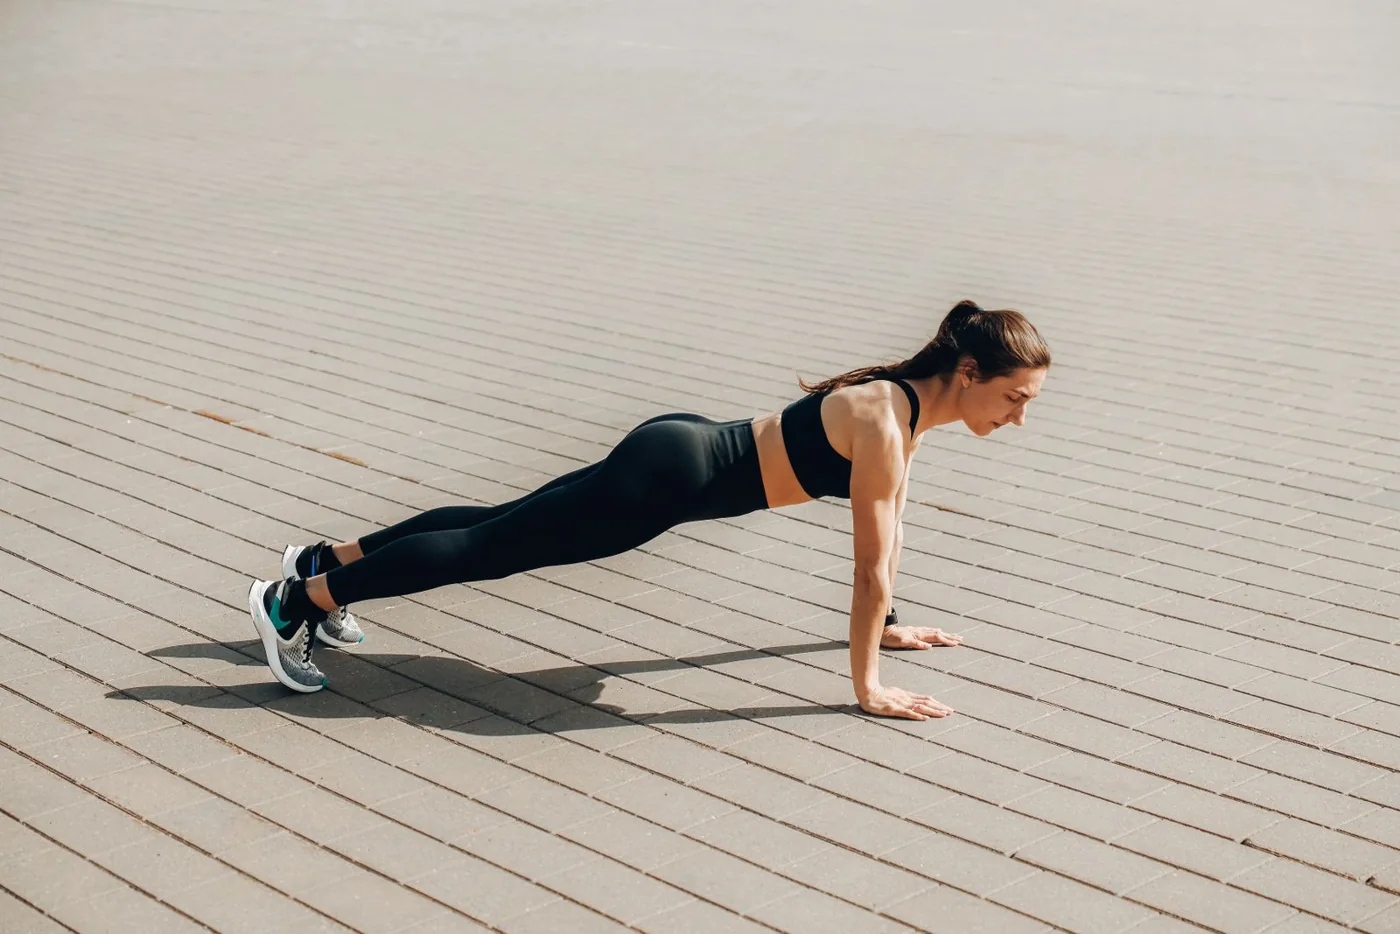
- Knee Push-Up: Place your hands slightly wider than your shoulders and rest your knees on a mat. Lower your chest between your hands, keeping shoulders, hips and knees aligned, then press up without letting your waist sag.
- Glute Bridge: Lie on your back with bent knees and feet flat about hip-width apart. Press through your feet to lift your hips, squeeze your glutes without arching your lower back, then lower slowly.
- Dead Bug: Lie on your back with arms upward and hips and knees bent to roughly right angles. Slowly extend one arm and the opposite leg, then return and switch; keep your trunk still and shorten the reach if your lower back lifts.
- Reverse Lunge: Stand tall and step one foot backward, keeping your feet on separate tracks. Bend both knees, then press through the front foot to return; keep the front heel down and use support for balance if needed.
- Bird Dog: Start on hands and knees, with hands under shoulders and knees under hips. Reach one arm forward and the opposite leg back without rotating your pelvis; return slowly and alternate sides.
- Standing Calf Raise: Stand tall with the balls of your feet firmly supported and hold a stable support if needed. Raise your heels by pressing through your forefeet, then lower slowly, keeping your ankles from rolling inward or outward.
Find your starting weight
Choose a version that lets you reach the lower end with about two or three clean repetitions left. For push-ups, that may mean starting at the wall. End holds before your position changes or you have to hold your breath. An all-out set is unnecessary for finding a workable difficulty.
How to progress the plan
Reach the upper limit in both sets first. Then, for example, move from knee push-ups to full push-ups with fewer repetitions. A single-leg bridge can follow the two-leg version. Keep squats unchanged at first; lunges already add a harder leg task.
Progress can mean a steadier movement, more repetitions or less breathlessness after the same session. After four weeks, look at your first entries and think about what used to feel unfamiliar. If evening workouts keep getting postponed, try a different time or a shorter session. A plan is most useful when it regularly finds room in your day.
Adjust the plan while keeping its purpose
Use wall push-ups if the knee version is still too difficult. Touch the wall lightly for balance during lunges. When 15 squats feel very easy, adding resistance is usually more practical than extending sets indefinitely.
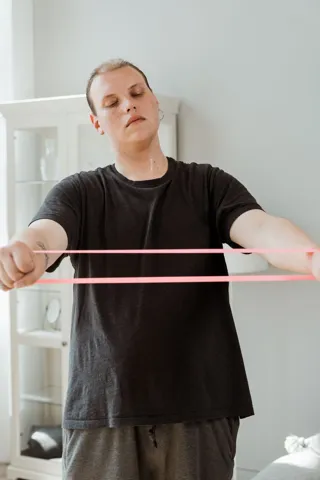
Without equipment, a pulling movement that you can steadily load is missing for your back and arms. Bird dogs, planks and bridges do different jobs and do not replace rows. Add a long band secured under your feet, dumbbells, or a correctly installed station designed for pulling. Do not attach improvised equipment to a random door or table.
When to end a set
End the set when you clearly shorten the movement, need momentum or lose control of your position. Muscular effort and faster breathing are expected. Sudden sharp pain, dizziness or unusual symptoms are reasons to stop the exercise or session. Have persistent or recurring pain assessed before continuing to load the affected movement.
Know where to start next workout
Record your sessions in LiftPal: exercises, repetitions, weight and, when useful, effort with RPE. Note the variation or band resistance too. At the next workout, you can see what worked last time. You can also make your training schedule an everyday goal.
Try a tool
Read next
 Training stylesStrength training at home: exercises with and without equipment
 Plans and progressA resistance-band plan without a door anchor
 Plans and progressSets, reps and working weight explained
 Plans and progressProgressive overload: when to add weight or repetitionsPlans and progressRPE in strength training: how hard was that set?
Sources
- ACSM (2026): Resistance Training Prescription for Healthy Adults ↗
- ACSM (2026): Updated resistance training guidance ↗
- Plotkin et al. (2022): Progressing repetitions or load in resistance training ↗
Maksim Goncharenok / Pexels · Pexels License · Resized and converted to WebP for this website.
MART PRODUCTION / Pexels · Pexels License · Resized and converted to WebP for this website.