Who this plan suits
You perform the basic movements confidently and recover well from three working sets per exercise. Four days give individual muscle groups more room in the week. Choose this split when shorter sessions fit your life better than longer full-body workouts.
Your sessions
The table lists working sets; prepare beforehand. For one-sided exercises, a set covers both sides and the listed rest follows. Take a brief pause when switching sides if needed.
Upper body A
- Sets
- 3
- Reps / duration
- 8–12
- Rest
- 2 minutes
- Sets
- 3
- Reps / duration
- 8–12
- Rest
- 2 minutes
- Sets
- 2
- Reps / duration
- 8–12
- Rest
- 2 minutes
- Sets
- 2
- Reps / duration
- 10–15
- Rest
- 1–2 minutes
Lower body A
- Sets
- 3
- Reps / duration
- 8–12
- Rest
- 2 minutes
- Sets
- 3
- Reps / duration
- 8–12
- Rest
- 2 minutes
- Sets
- 3
- Reps / duration
- 12–20
- Rest
- 1 minutes
- Sets
- 2
- Reps / duration
- 6–10 per side
- Rest
- 1 minutes
Upper body B
- Sets
- 3
- Reps / duration
- 8–12
- Rest
- 2 minutes
- Sets
- 3
- Reps / duration
- 8–12
- Rest
- 2 minutes
- Sets
- 2
- Reps / duration
- 12–20
- Rest
- 1 minutes
- Sets
- 2
- Reps / duration
- 10–15
- Rest
- 1–2 minutes
Lower body B
- Dumbbell split squat
- Sets
- 3
- Reps / duration
- 8–12 per side
- Rest
- 2 minutes
- Sets
- 2
- Reps / duration
- 8–12
- Rest
- 2 minutes
- Sets
- 2
- Reps / duration
- 8–12 per side
- Rest
- 1 minutes
- Sets
- 2
- Reps / duration
- 20–30 seconds per side
- Rest
- 1 minutes
Where the sessions fit in your week
Use upper A on Monday, lower A on Tuesday, upper B on Thursday and lower B on Friday. Consecutive days emphasise different areas. If overall fatigue builds up, move Friday to Saturday or return to three days.
| Day | Session |
|---|---|
| Monday | Upper body A |
| Tuesday | Lower body A |
| Wednesday | No scheduled workout; easy movement if you wish |
| Thursday | Upper body B |
| Friday | Lower body B |
| Saturday | No scheduled workout; easy movement if you wish |
| Sunday | No scheduled workout; easy movement if you wish |
Warm up for your workout
Take three to five minutes before the working sets: walk on the spot, move your shoulders and hips, and rehearse the first squat or hinge without weight. Try a light set before the first press and row. Heavy dumbbells may need further short preparation sets; these should not tire you out.
Clear enough space for your arms and weights. Check the floor, wall and dumbbell locks. This plan needs no makeshift door, table or furniture anchors. Session lengths are estimates; extend a rest when your breathing or control is not yet ready for the next set.
How to use the sessions
2 × 8–12 means two sets of eight to twelve repetitions. Complete both sets before moving to the next exercise. For one-sided movements, the count applies to each side. When using two dumbbells, record their combined weight here; for one dumbbell, record that weight only. Keep the same convention for later comparisons.
How to do each movement
- Dumbbell Floor Press: Lie on the floor with knees bent and dumbbells above your chest. Lower until your upper arms gently meet the floor, then press up; keep wrists over elbows and avoid bouncing your arms against the ground.
- Bent-Over Dumbbell Row: Stand with feet about hip-width apart and hold a dumbbell in each hand. Soften your knees and hinge at your hips with a steady back. Pull both elbows toward your hips, then lower the weights slowly without standing up or swinging your torso. No bench is needed.
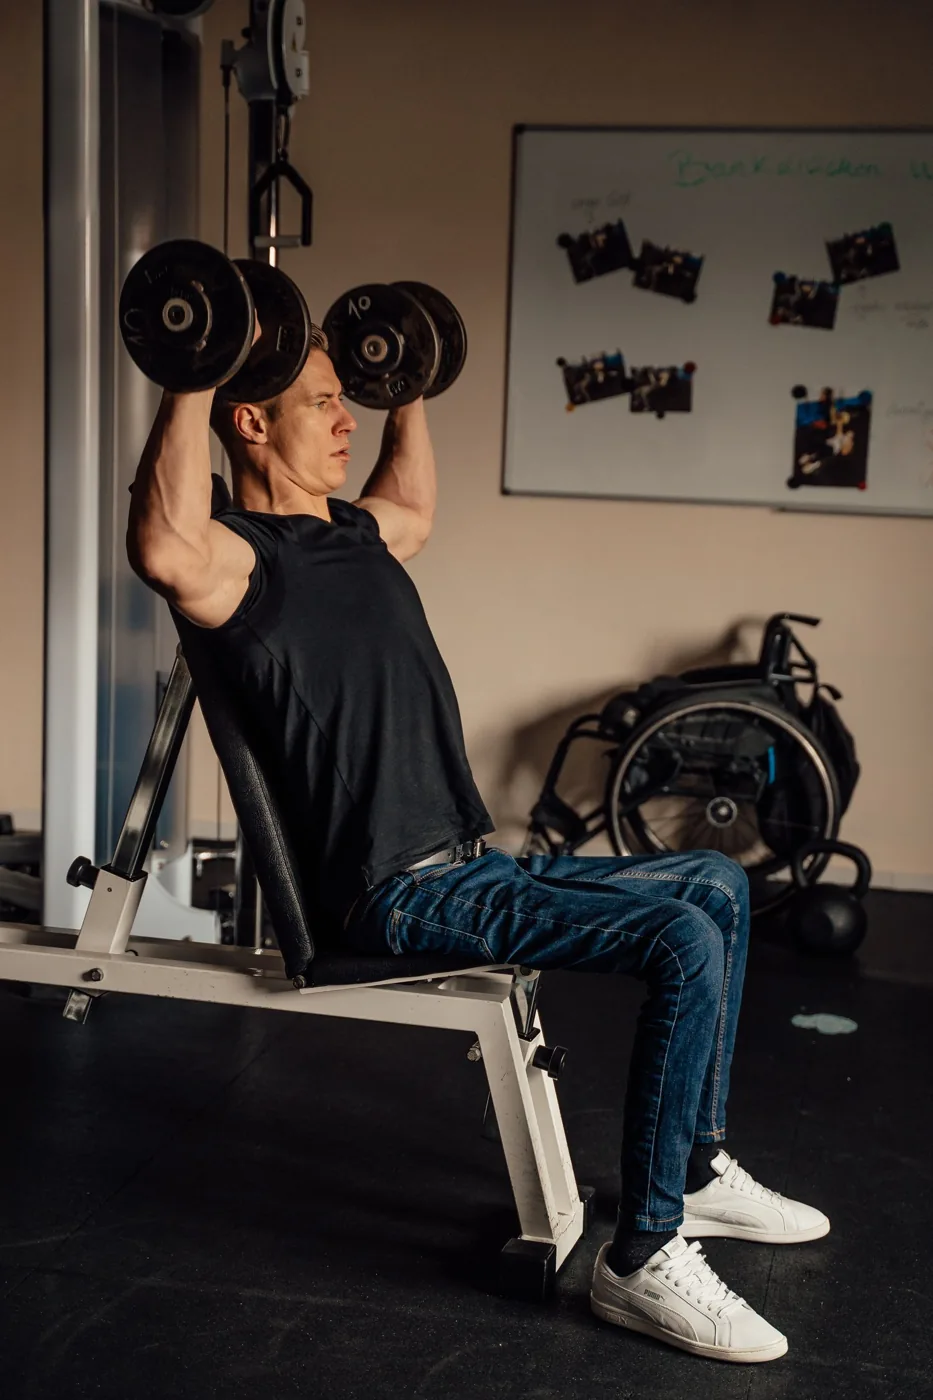
- Dumbbell Shoulder Press: Sit or stand tall with dumbbells beside your shoulders and forearms roughly vertical. Press overhead through a comfortable path, then lower slowly; keep your ribs over your pelvis and avoid leaning back to finish.
- Hammer Curl: Stand with a dumbbell in each hand, palms facing your thighs. Bend your elbows while keeping this neutral grip and your upper arms beside your body, then lower slowly without swinging the weights.
- Goblet Squat: Hold one dumbbell or kettlebell close to your chest and stand with feet about shoulder-width apart. Bend your hips and knees to a comfortable depth, keeping your whole foot supported and knees following your toes. Push evenly through your feet to stand.
- Dumbbell Romanian Deadlift: Stand holding a dumbbell in each hand in front of your thighs. Keep your knees slightly bent and move your hips backward, guiding the weights close to your legs. Stop when your hamstrings feel stretched while your back stays steady, then stand by driving your hips forward. A bench or barbell is not needed.
- Standing Calf Raise: Stand tall with the balls of your feet firmly supported and hold a stable support if needed. Raise your heels by pressing through your forefeet, then lower slowly, keeping your ankles from rolling inward or outward.
- Dead Bug: Lie on your back with arms upward and hips and knees bent to roughly right angles. Slowly extend one arm and the opposite leg, then return and switch; keep your trunk still and shorten the reach if your lower back lifts.
- Lateral Raise: Stand tall with dumbbells beside your thighs and elbows slightly bent. Raise your arms out to the sides, slightly forward of your body, to around shoulder height, then lower slowly without shrugging or swinging.
- Dumbbell split squat: Hold the dumbbells at your sides and step one foot forward and the other back. Both feet stay on the floor, with the rear heel allowed to lift. Bend both knees to lower your hips between your feet, then press through the front leg to rise. Keep your feet on two parallel tracks. Practise without weights if balance is uncertain.
- Single-Leg Glute Bridge: Lie on your back with one foot planted and the other knee drawn toward you. Lift your hips using the planted leg, then lower slowly; keep your pelvis level and return to two feet if you cannot control it.
- Side Plank: Lie on your side with your elbow under your shoulder and legs stacked or staggered. Lift your hips into a straight line and breathe steadily; keep the shoulder supported and place your lower knee down to simplify.
Find your starting weight
Start with a weight you can control at the bottom of the repetition range. Normal working sets should leave roughly two or three clean repetitions available: you could still do them without swinging or shortening the movement. Start lighter if unsure. Choose a load for each exercise separately; a good rowing weight rarely suits lateral raises too.
How to progress the plan
Build repetitions within the ranges before increasing weight. Keep the listed sets unchanged for the first four weeks. Extra training days do not automatically call for extra sets. Compare each session's first exercise and how recovered you feel by the next session.
You do not need a heavier dumbbell at every workout. You might manage another repetition of the same exercise or feel steadier in a lunge. After four weeks, look back at your first entries. If you keep postponing evening sessions, try a different time or a shorter workout that fits your day.
Adjust the plan while keeping its purpose
Both feet stay on the floor during split squats. If balance is uncertain, practise without weight and touch a wall. After missing a day, continue with the next session rather than cramming two lower-body workouts into one evening.
When to end a set
End the set when you clearly shorten the movement, need momentum or lose control of your position. Muscular effort and faster breathing are expected. Sudden sharp pain, dizziness or unusual symptoms are reasons to stop the exercise or session. Have persistent or recurring pain assessed before continuing to load the affected movement.
Know where to start next workout
Record your sessions in LiftPal: exercises, repetitions, weight and, when useful, effort with RPE. Note the variation or band resistance too. At the next workout, you can see what worked last time. You can also make your training schedule an everyday goal.
Try a tool
Read next
 Training stylesStrength training at home: exercises with and without equipment
 Plans and progressAn advanced dumbbell strength plan for home
 Plans and progressSets, reps and working weight explained
 Plans and progressProgressive overload: when to add weight or repetitionsPlans and progressRPE in strength training: how hard was that set?
Sources
- ACSM (2026): Resistance Training Prescription for Healthy Adults ↗
- ACSM (2026): Updated resistance training guidance ↗
- Plotkin et al. (2022): Progressing repetitions or load in resistance training ↗
Alesia Kozik / Pexels · Pexels License · Resized and converted to WebP for this website.
@marcuschanmedia | IG / Pexels · Pexels License · Resized and converted to WebP for this website.
Andrea Piacquadio / Pexels · Pexels License · Resized and converted to WebP for this website.